
Spring is the perfect time to refresh your home decor, and what better way to welcome the season than with a beautiful DIY spring wreath? Whether you’re decorating your front door, living room, or patio, a handmade spring wreath adds a cheerful touch. In this guide, we’ll share 10 easy spring wreath ideas for wreaths that fit any style—from rustic to modern. Best of all, these spring wreath projects are budget-friendly and simple enough for beginners!
Creating your own wreath is not only a fun and creative activity but also a great way to personalize your decor. Plus, making a wreath yourself ensures that it perfectly matches your home’s aesthetic. You can experiment with different materials, colors, and embellishments to make a wreath that truly reflects your personality and home decor style. Handmade wreaths also make thoughtful gifts for friends and family, allowing you to share the beauty of spring with loved ones
Ready to get crafty? Let’s dive into these DIY spring wreath ideas!
Table of Contents
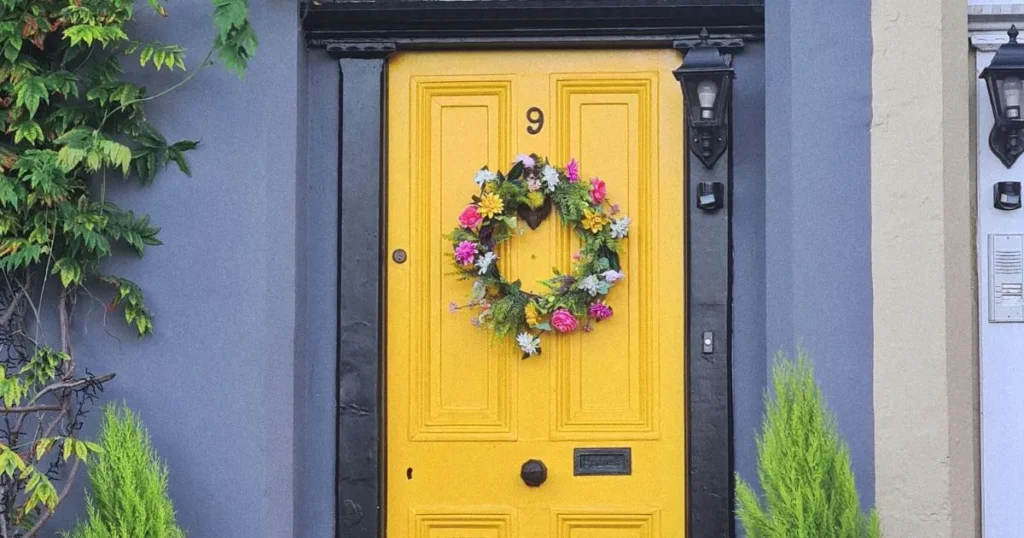
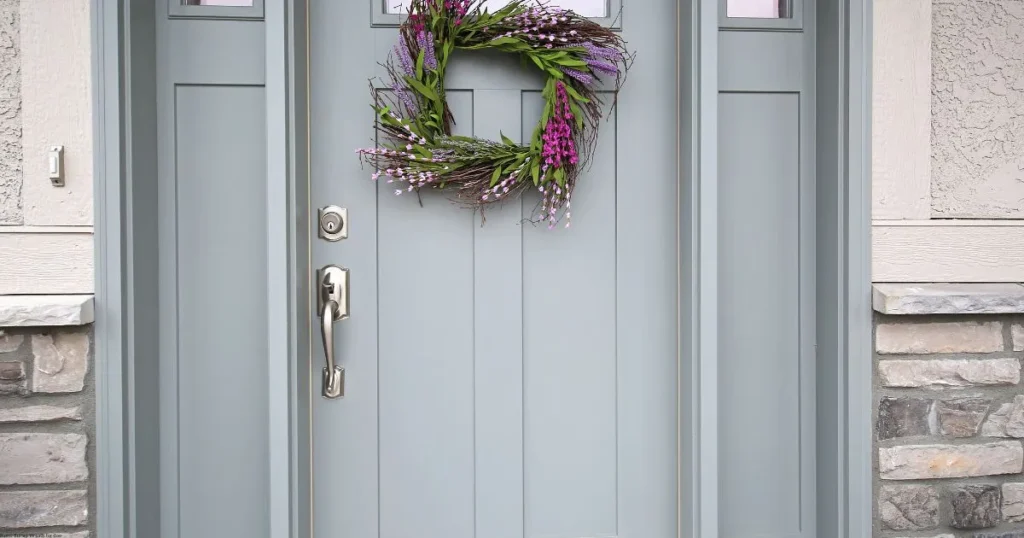
DIY Idea 1: Fresh Flower Wreath
Bring the beauty of spring blooms indoors with this fresh flower spring wreath.
Materials Needed:
- Grapevine wreath base
- Fresh or faux flowers (tulips, daisies, or peonies)
- Floral wire or hot glue gun
- Scissors
- Ribbon (optional)
Steps:
- Prep Your Flowers – Trim stems to 2-3 inches to make them easier to attach.
- Attach Flowers – Use floral wire or hot glue to secure them to the wreath base.
- Fill in Gaps – Add smaller blooms or greenery for a lush, full look.
- Add a Bow – Tie a ribbon at the top for extra charm.
Pro Tip: Spritz fresh flowers with water to keep them vibrant longer! If you prefer a long-lasting option, high-quality faux flowers can provide the same beautiful effect without the need for maintenance.
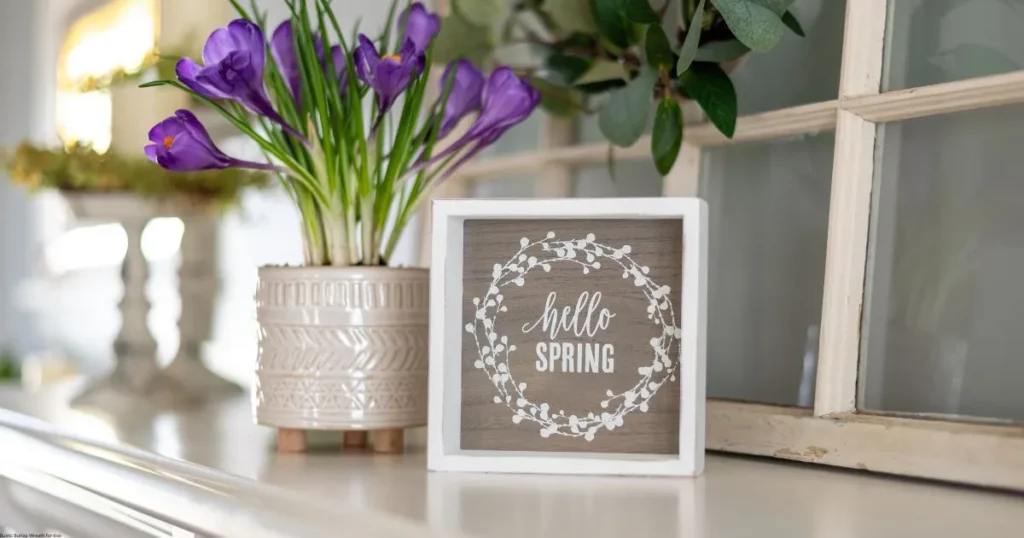
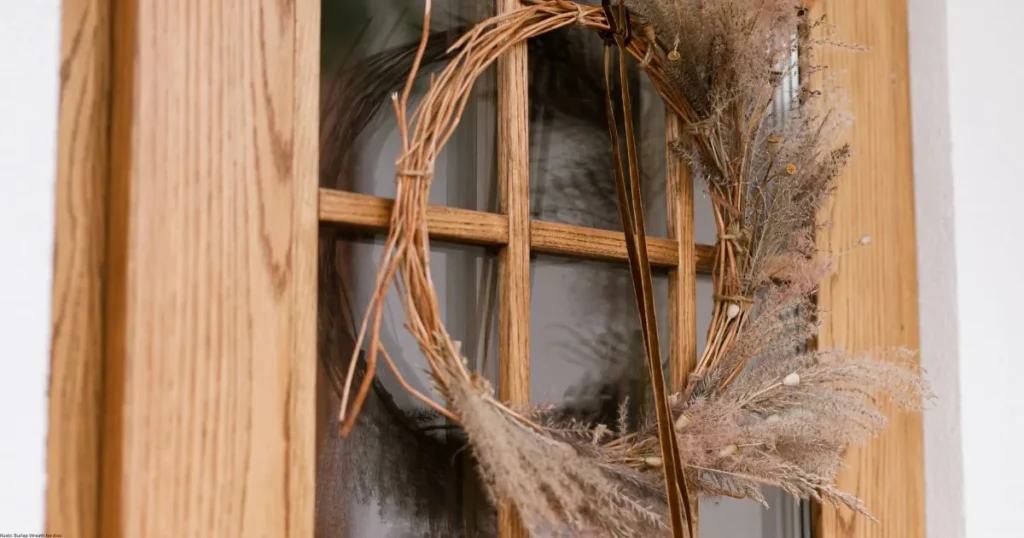
DIY Idea 2: Rustic Burlap Wreath
For a cozy farmhouse vibe, try this simple burlap spring wreath.
Materials Needed:
- Wire wreath frame
- Burlap ribbon (2-3 inches wide)
- Scissors
- Floral picks (optional)
Steps:
- Cut Burlap Strips – Make 6-inch strips for easy tying.
- Loop and Tie – Fold each strip into a loop and tie it onto the frame securely.
- Fluff and Adjust – Space out loops evenly to create a full, textured look.
- Add Decor – Tuck in faux flowers or a wooden “Hello Spring” sign for added charm.
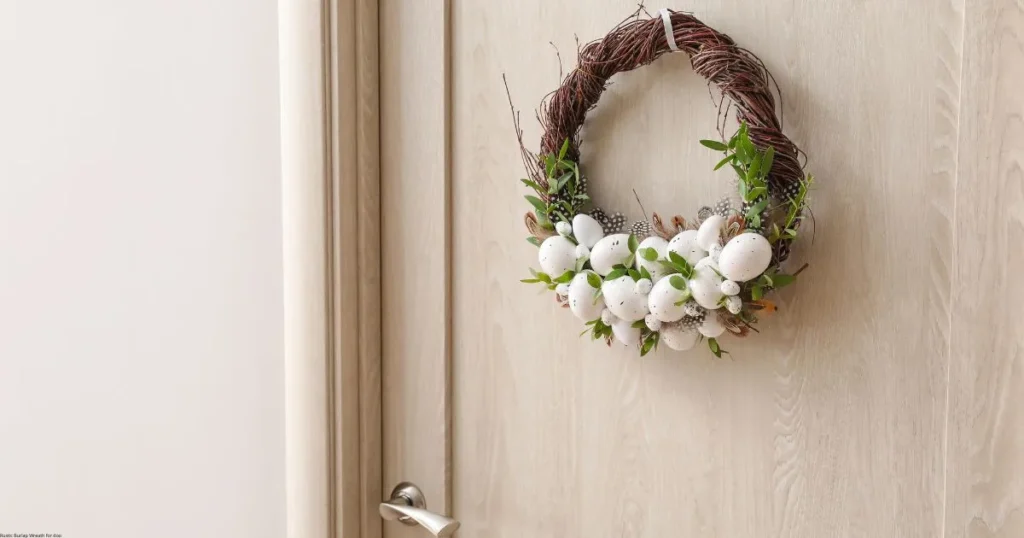
DIY Idea 3: Pastel Egg Wreath
This Easter-inspired wreath is vibrant, colorful, and full of festive charm! It’s the perfect way to bring the joyful spirit of Easter to your home, with its mix of pastel hues, decorative eggs, and cheerful accents. A beautiful addition to any space, it adds a playful touch to your seasonal decor.
Materials Needed:
- Foam wreath base
- Plastic or wooden pastel eggs
- Hot glue gun
- Ribbon
Steps:
- Glue Eggs – Attach them in a pattern (or randomly for a fun look).
- Fill Empty Spaces – Add moss, small flowers, or tiny leaves to complete the look.
- Hang with Ribbon – Choose a pastel or gingham ribbon for a sweet finish.
DIY Idea 4: Herb Garden Wreath
Perfect for kitchen decor—and it smells amazing!
Materials Needed:
- Straw wreath base
- Fresh or dried herbs (rosemary, lavender, thyme)
- Twine or floral wire
Steps:
- Bundle Herbs – Group small bunches together for a neat arrangement.
- Secure to Wreath – Wrap each bunch with twine or wire to keep it in place.
- Let Dry – Hang in a sunny spot to preserve herbs for long-lasting beauty and fragrance.
DIY Idea 5: Boho Macramé Wreath
A trendy, textured spring wreath for boho lovers.
Materials Needed:
- Macramé hoop
- Yarn or jute twine
- Wooden beads
- Scissors
Steps:
- Wrap the Hoop – Cover it with yarn in a spiral pattern.
- Add Tassels – Tie yarn strands at the bottom for a flowing effect.
- String Beads – Slide wooden beads onto hanging threads for a stylish touch.

DIY Idea 6: Citrus Slice Wreath
Bright and refreshing—just like spring!
Materials Needed:
- Grapevine wreath
- Faux lemon & orange slices
- Hot glue gun
- Greenery (eucalyptus or ivy)
Steps:
- Arrange Slices – Place them in a sunburst pattern around the wreath.
- Glue in Place – Secure each slice firmly to prevent falling.
- Add Greenery – Fill gaps with leaves for a fresh, natural look.

DIY Idea 7: Butterfly Wreath
Whimsical and lightweight—great for apartments!
Materials Needed:
- Wire wreath frame
- Paper or fabric butterflies
- Clear fishing line
Steps:
- Attach Butterflies – Hang them at different lengths with fishing line.
- Let Them “Float” – Adjust positioning for a lovely 3D effect. Experiment with different butterfly sizes and colors for a dynamic, eye-catching display.
- Enhance with Florals – Add small flowers or vines for an extra touch of nature-inspired charm.
- Secure the Base – Make sure all butterflies are firmly attached so they stay in place.

DIY Idea 8: Succulent Wreath
Low-maintenance and stylish.
Materials Needed:
- Moss wreath base
- Faux succulents
- Hot glue
Steps:
- Glue Succulents – Arrange them in clusters for a natural look.
- Fill with Moss – Tuck in preserved moss to blend everything together.
- Add Decorative Accents – Consider adding mini pebbles, tiny flowers, or fairy lights for a whimsical touch.
- Seal the Design – Ensure all succulents are securely glued so they stay in place for long-term use.
- Hang and Enjoy – Display your wreath on your door or wall for a fresh, modern touch.
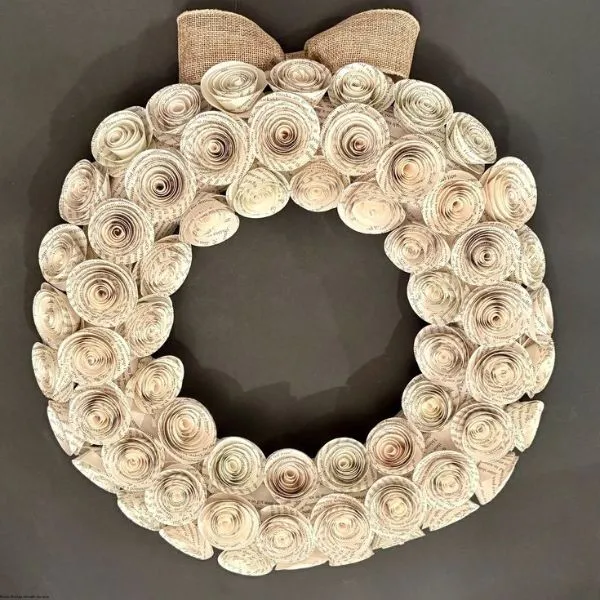
DIY Idea 9: Book Page Wreath
Ideal for vintage or literary-themed homes.
Materials Needed:
- Old book pages
- Foam wreath
- Mod Podge or glue
Steps:
- Roll Pages – Create cones or flower shapes.
- Glue to Wreath – Overlap pages to achieve a full, layered effect.
- Distress for Character – Lightly burnish the edges with ink or coffee staining for an aged look.
- Add a Centerpiece – Consider placing a decorative emblem, ribbon, or antique key in the middle for extra charm.
- Personalize It – Use pages from your favorite book for a sentimental touch.
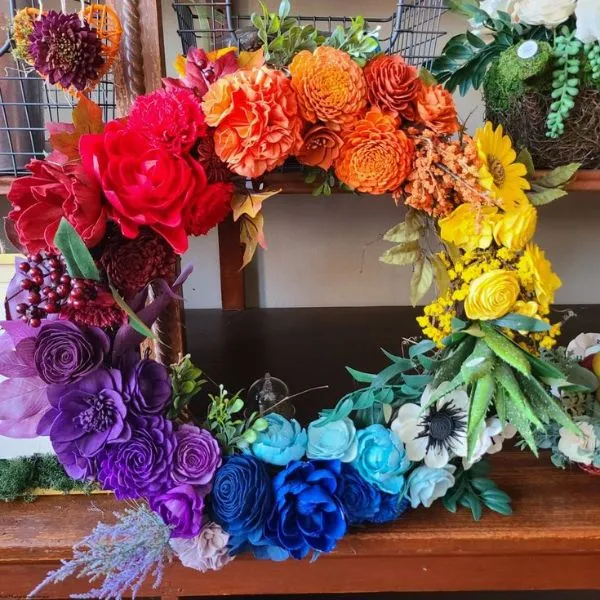
DIY Idea 10: Rainbow Ribbon Wreath
A pop of color for any space!
Materials Needed:
- Wire wreath frame
- Assorted ribbon colors
- Scissors
Steps:
- Cut Ribbon Strips – Vary lengths for a textured look.
- Tie Onto Frame – Alternate colors for a fun rainbow effect.
- Layer for Dimension – Use different ribbon widths and textures for added visual interest.
- Finish with a Bow – Tie a large bow at the top or bottom for a polished look.
- Experiment with Colors – Mix bright and pastel shades for a unique design.
Tips for Hanging Your Spring Wreath
Choose the Right Spot – Front doors, mantels, or windows are perfect spots for hanging your spring wreath. The entrance of your home is an ideal place for it to be seen by visitors, setting the tone for your seasonal decor. Mantels can add a cozy touch to your living room, while windows let the wreath brighten up both the inside and outside view of your space.
Secure Properly – Ensure that your wreath is hung safely and securely. Use wreath hangers specifically designed for front doors, or opt for command hooks that won’t damage your walls or doors. For extra stability, a sturdy ribbon tied around the wreath and hung from a hook can add an elegant touch while preventing it from swaying in the wind. If you’re using a heavy wreath, make sure the hook or hanger can support its weight without bending.
Protect from Weather – If you’re using fresh flowers or delicate materials, it’s a good idea to bring your wreath indoors during heavy rain, snow, or wind. This ensures that the wreath stays looking beautiful for longer and prevents it from becoming damaged. If your wreath is made of artificial flowers or weather-resistant materials, feel free to leave it outside, but be sure to check it regularly to maintain its fresh look.
No matter which spring wreath idea you choose, each one will bring a fresh, seasonal touch to your home. These DIY spring wreaths are not only fun to make but also offer endless possibilities for customization. Whether you prefer the vibrant colors of fresh flowers, the rustic charm of burlap, or the playful vibes of pastel eggs, there’s a spring wreath that suits your style perfectly. Consider adding little personal touches such as ribbons in your favorite color, wooden accents, or even small seasonal decorations like butterflies, birds, or Easter-themed elements.
So, gather your materials, put your creativity to the test, and start crafting your very own spring wreath today! It’s a wonderful way to celebrate the season and brighten up any space. The process of crafting itself is therapeutic and enjoyable, allowing you to tap into your creative side while also preparing for the joys of spring. Don’t forget to share your creations with friends and family—they’ll love the handmade touch!
Happy crafting, and here’s to a beautifully decorated spring! Whether it’s for your home or as a thoughtful gift for someone special, your spring wreath will be a delightful addition to the season’s decor.
If you’re looking to make your own spring wreath, check out this detailed tutorial on how to create a beautiful DIY wreath with seasonal flowers: How to Make a Spring Wreath.
Happy crafting! 🎨✨